After a long night of sleeping in a tent, there’s nothing like a cup of hot coffee to perk you right up. Luckily there are several ways to make coffee when camping!
So grab your favorite bag of beans and your best camping coffee mug!
Camping Coffee Maker Options
With so many different ways to brew a cup of joe, you’re sure to find a coffee brewing technique that’s perfect for your next trip into the wilderness. Nearly all the techniques below will require a pot for boiling water and a heat source. As long as you have those and a mug to drink from, you’re ready to get your brew on!
1. Cowboy Coffee
Dating back to the 19th century, cowboy coffee was a staple for cowboys traveling the trails. And it tastes just as good now as it did back then. When it comes to camping coffee makers, it doesn’t get much simpler than the cowboy method.
Required Supplies
- A heavy-duty pot: Cast iron kettles or aluminum coffee pots with a sprout work best. However, in a pinch, you can use whatever fire-safe pot you have on hand.
- Coarse-ground coffee: Coffee grounds that are too fine may result in bitter coffee. It’s also more likely that you’ll end up drinking the grounds if they’re too fine.
- An open flame: Cowboy coffee is traditionally cooked over the coals of your campfire, but you can use a camping stove if you have one on hand.
Brewing Instructions
- Add water and coarse-ground coffee to your pot of choice. Use about two tablespoons of coffee for every eight ounces of water.
- Move your coffee pot to the desired heat source, but don’t let it come to a boil. The optimal coffee temperature is around 200 degrees–this typically takes five to seven minutes to achieve but can vary based on your heat source.
- Carefully remove the coffee pot from heat and allow the coffee grounds to settle for roughly five minutes.
- Pour into your favorite mug and sip away!
2. French Press
If you like your java strong, then the french press will be your best friend.
Required Supplies
- A french press: Choose a sturdy camping model made from stainless steel–glass french presses are best for home use.
- Medium-coarse ground coffee: A coarse ground coffee will yield the best results.
Brewing Instructions
- Bring a pot of water to a near boil.
- Add coffee grounds (about one and half tbsp per cup of water) and water to your french press.
- Allow your coffee to steep for five minutes.
- Push the plunger part of your french press down slowly.
- Pour into your mug and enjoy!
3. Aeropress
Aeropress coffee is incredibly versatile. Whether you want a strong shot of espresso or a light easy-drinking brew, you can achieve it with an Aeropress.
Required Supplies
- An Aeropress kit: Look for a kit that includes all the parts you need from the brew chamber and plunger to the filter holder paper filters. For camping, you might also want to find a bag to carry your supplies in.
- Medium-fine ground coffee: Be cautious of grinding your coffee too finely, as that will result in a bitter cup of coffee.
Brewing Instructions
- Bring a pot of water just to a light boil.
- Insert a paper filter into the filter holder and attach to the brew chamber.
- Place the Aeropress on top of your coffee mug.
- Add ground coffee (about one tbsp per cup of coffee) and boiled water to the brew chamber. Some coffee will begin dripping into the mug.
- Wait approximately two minutes, insert the plunger and push down.
- Remove Aeropress and drink up!
4. Percolator
For strong, bold coffee the percolator is an excellent option. A percolator coffee pot consists of an upper chamber for coffee grounds that sits above a water reserve. A central siphon pushes water up and over the coffee grounds repeatedly until your desired brew is reached. With this option, a secondary pot for boiling water is not required.
Required Supplies
- A coffee percolator: Opt for a stainless steel model.
- Coarse-ground coffee: Coarse ground coffee is ideal, but be cautious of grinds that are too large, as they’ll produce a weaker tasting coffee.
Brewing Instructions
- Remove the grounds chamber/siphon apparatus and fill your percolator coffee pot with cold water.
- Reinsert the percolator apparatus and fill it with coffee grounds. Use about one tbsp per cup of water.
- Heat until you see the water erupting.
- Decrease heat and let your percolator sit for about 10 minutes. It will sputter during this time.
- When ready to drink, carefully remove the percolator apparatus, wait a few minutes and pour yourself a cup.
5. Instant Coffee
While it may not always be a champion of flavor, instant coffee is a huge time saver when you’re camping. It’s easy to store and easy to brew, making it an ideal choice for making coffee when camping.
Required Supplies
- Your preferred brand of instant coffee: Any will work.
Brewing Instructions
- Bring a pot of water to a boil over the fire or on your camping grill.
- Add instant coffee to your mug, following the instructions on the label.
- Add water to the cup and enjoy!
6. Coffee Bags
Coffee bags are just like teabags. Each bag contains a single serving of coffee and is steeped in a mug of water until the desired strength is reached.
Required Supplies
- Your preferred coffee bags: Any will work.
Brewing Instructions
- Bring a pot of water to a boil.
- Remove packaging from the coffee bag and insert into your mug.
- Pour hot water into your mug and steep coffee until it reaches your desired strength. Note, this method may take longer than you expect, especially if you prefer your coffee bold.
7. Pour Over Coffee
There’s something inherently calming about pour-over coffee. And when you’re camping, pour-over coffee is almost as easy and convenient as instant coffee, but with an arguably better taste.
Required Supplies
- Pour-over coffee dripper: For camping, look for a collapsible dripper to save space.
- Paper or reusable filters: To sit inside the dripper.
- Fine-medium ground coffee
Brewing Instructions
- Bring a pot of water to a light boil.
- Place your pour-over dripper on top of your coffee mug.
- Insert a filter into the dripper and add coffee grounds (roughly one tbsp per cup of water)
- Pour a little water on your coffee grounds just to get them wet and wait a few seconds.
- Slowly pour the remaining water over the coffee grounds in a circular motion.
- Remove the dripper and enjoy your brew!
8. How To Use A Moka Pot For Camping
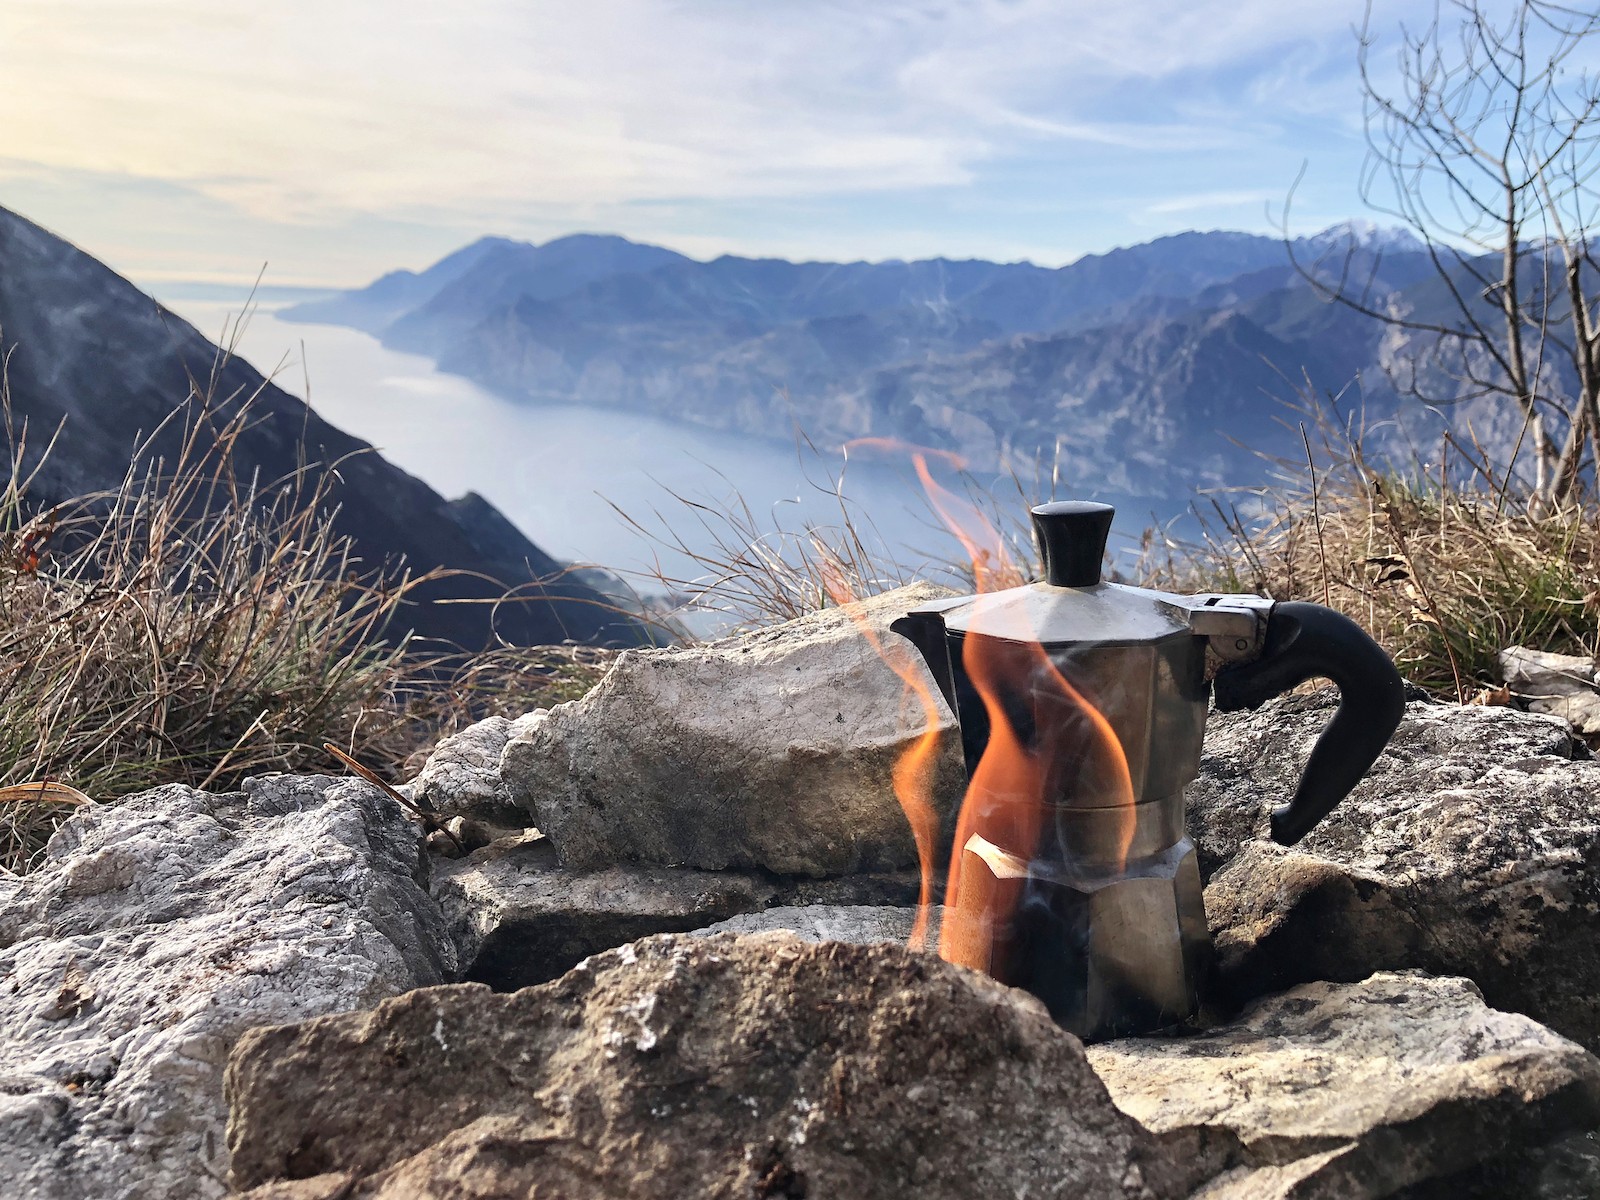
Often referred to as an espresso pot, the Moka pot consists of an upper and lower chamber. As one of the more complicated camping coffee maker options, the Moka pot is best suited for experienced coffee connoisseurs.
Required Supplies
- Moka or espresso pot: They are available in a variety of sizes.
- Espresso-ground coffee: It’s important to choose the appropriate grind.
- A camping grill: In this case, it’s safer not to use your campfire.
Brewing Instructions
- Bring a pot of water to a boil.
- Unscrew the espresso pot and fill the bottom chamber with freshly boiled water.
- Fill the grounds basket with coffee.
- Inset the grounds basket into the bottom chamber and screw the top back on.
- Heat the pot over low heat until you see coffee coming into the upper chamber.
- When coffee reaches desired strength, remove from heat and pour into your cup.
9. Cold Brew
If you prefer your coffee cold and refreshing, then it’s time to whip up some cold brew. The best thing about cold brew is you can prepare it in bulk before you leave for camping.
Required Supplies
- Cold brew coffee pitcher or french press: If you’re making cold brew in bulk, opt for the biggest pitcher or press available.
- Coarse ground coffee: The water needs to move freely through the grinds, anything too fine will make this difficult.
- Container: For transporting your cold brew if making it at home ahead of time.
- Cold water: As the name suggests, cold brew is steeped in cold water, not hot.
Brewing Instructions
- Add ground coffee and cold water to your pitcher or french press. Use a ratio of one part coffee to eight parts water.
- Stir the grounds and store in the fridge for at least 12 hours but up to 24 hours.
- Pour the finished cold brew into a container or straight into your glass.
- Drink up and enjoy!
10. Propane Coffee Maker
Can’t get enough of your drip coffee maker? Then this one’s for you.
Required Supplies
- A propane coffee maker: These are not the most common, but Coleman makes a good one.
- A propane canister: Be sure to get the appropriate canister for your specific propane coffee maker.
- A BBQ lighter: to ignite the burner.
- Coffee filters: paper or reusable.
- Medium ground coffee: the best choice for drip coffee.
Brewing Instructions
- Fill the water reserve and insert a coffee filter into the basket.
- Add coffee grounds to the filter.
- Turn on propane and ignite the burner.
- Coffee is finished when the pot is full and coffee stops dripping.
- Turn off propane, pour, and enjoy.


Leave a Reply